Over the years, plaster walls can become unattractive due to either discoloring or your basic wear and tear. Repairing your plastered walls can be quite expensive. Instead, save some money by covering them with drywall. They’ll look better, they’ll be stronger, and you’ll keep more cash in your pocket.
Make sure your plaster is properly secured
Because a sturdy substrate is required to attach drywall properly, it’s essential that you fasten any loose plaster to the wood lath strips. Make sure you use plaster screws to secure the plaster properly.
These screws have special fittings that eliminate the chance of the plaster cracking. If you see any crumbling plaster hanging from the lath, be sure to scrape it off. You’ll then want to use a piece of drywall to fill the empty space.
Gather the necessary tools
Once you know that the plaster attached to the wood lath is stabilized as much as it can be, you can then start adding a new drywall over the top of the plaster. To do this, you’ll need the following tools:
- 2-inch drywall screws
- ½ inch thick drywall boards (either 4-by-8 or 4-by-12 sheets)
- 5-gallon bucket of Joint compound
- Pry bar
- Liquid nails
- Tape measure
- Stud finder
- Electric saw
- Flat-head screwdriver
- Pencil
- Power drill accompanied with a Philip’s-head screwdriver bit
Remove the trim
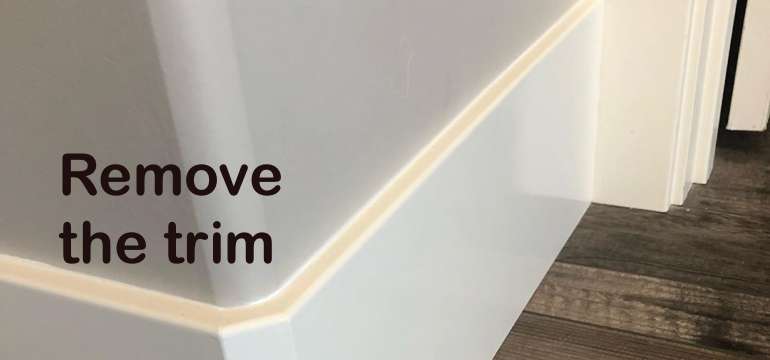
Once you have gathered all the necessary tools, you can begin. You’ll want to start by removing all the window and door trim, the baseboards, and the crown molding. Use the flat end of the pry bar to get this done.
In addition to this, use the flat-head screwdriver to remove all the electrical outlets and light switch faceplates. Make sure you take your time when doing this, so you don’t break or crack any of the pieces.
Locate the studs behind the plaster wall
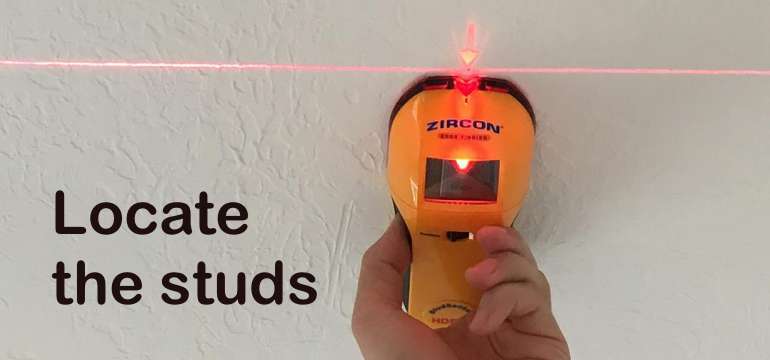
With the stud finder, locate the studs in the wall behind the plaster. Once you find a stud, use your pencil to mark it’s location. However, when you mark it, do it as close to the floor as you can get.
Do this for every stud in the wall you’re working on. Now, if the studs became exposed near the floor when you removed the baseboards, you won’t need to mark their location with a pencil. You can already see where they are.
You may also check this article to find the methods for locating studs without a stud finder.
Cut your panels
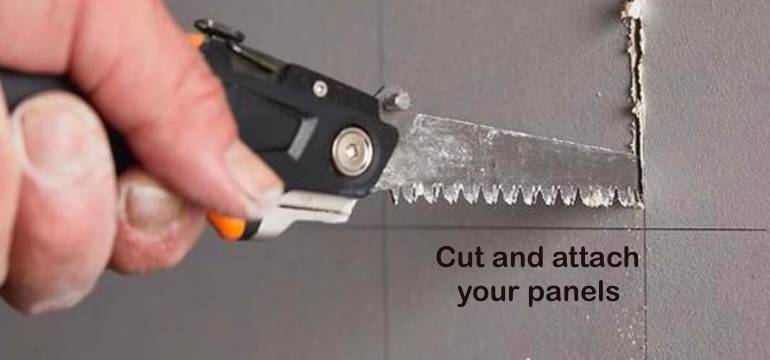
Measure and cut all your drywall sheets to size. You’ll need your tape measure and an electric saw to do this. It’s essential to measure and cut your drywall sheets right. This will prevent you from wasting unnecessary time, effort, and money.
You’ll now want to cut holes in drywall for electrical boxes and lights. There are several different tools you can use to accomplish this, including handsaws, jigsaws, and specialized saws. The main idea is to cut the sheets, so they properly fit around the edges of the doors, windows, and around the corners. Using a chalk line when making long cuts is very useful.
Once they are cut, you can use a drywall rasp to clean up the edges. When you put the panels up to attach them, a sharp knife works well to trim any edges that are too tight.
Keep in mind that you shouldn’t screw the drywall before trimming these parts. You need to check the fit before you press the drywall to the wall.
Attach your drywall over the plaster
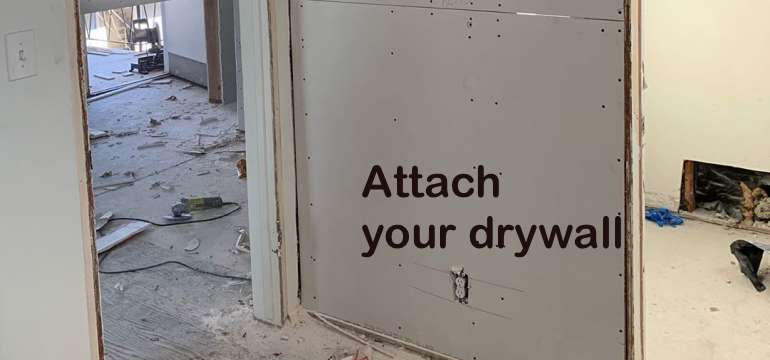
Using a caulk gun, apply a generous amount of Liquid Nails to the surface onto the wall. When attaching sheets of drywall, always make sure you start at the top of the wall, and always install your drywall sheets horizontally. This is the most effective way to attach drywall over plaster.
Starting at the top of the wall, position the first sheet of drywall until it’s flush in the top upper corner. You may need a helping hand to do this, so if you have a friend or family member who can help you, it’ll be a much easier job.
Once you have positioned the sheet of drywall in the right location, fasten it into the studs with the 2-inch drywall screws. Make sure your screws are spaced out by 18-inch apart from one another and make sure you countersink every screw.
Next, attach your cut-to-size sheet of drywall at the bottom of the wall. After you have inserted your 2-inch drywall screws, see if there is a gap between the upper and lower drywall sheets. Typically there will be a gap between these two sheets.
Measure the space needed to be filled with the tape measure and cut a piece of drywall to fit in that gap. Make sure the edges of this piece in addition to the upper and lower sheets are all flush with each other.
Tape and mud all the holes, edges, and other blemishes
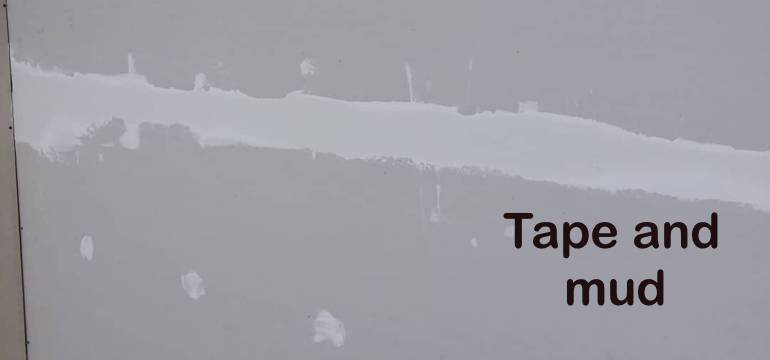
Now that you have all the drywall up, taping and mudding is the next task. With a quality compound, fill in all the holes and edges, tape all the edges and seams, and fix any other blemishes you happen to see. When taping flat seams between the wall panels, most professionals suggest using a fiberglass mesh tape.
Once you have applied the tape, fill in the joints with the compound you chose. It’s important to only apply a thin layer and softly sand between each layer you apply. Let your compound dry and then decorate your walls any way you choose. It’s your space, so get creative with it.
You’ll also want to check out: How Many Coats of Mud on Drywall?

- How to Cut Lexan - September 25, 2020
- Mineral Spirits vs. Mineral Oil - September 25, 2020
- Shellac vs. Polyurethane - September 24, 2020