When you are beginning a woodworking project, it is sometimes helpful to plan out the timeline in advance. To do that, you will need to know how long various phases of the process will take. For example, you might be wondering, “How long does it take for wood stain to dry?” or how long to let the stain dry between coats. To help you resolve this question so you can plan your time effectively, we will review a few different types of stain, and the general expected drying time for each one.
However, keep in mind that each project is different, and various factors can affect specific drying time ranges and estimates. Ultimately the important thing is maintaining the quality of your project to you can enjoy the best possible result of all your hard work.
How Fast Does Stain Dry?
 This might seem like a clear-cut question, but it is definitely not. Each stain product is different due to the different formulas that manufacturers use. Your best bet is to take a long, hard look at the labeling and the instructions that came with the stain product you purchased. The manufacturer will have included clear directions for the application and drying phases of the stain, so the label or other materials included with the container of stain should specify a recommended drying time. It is in your project’s best interest for you to follow these recommendations, even if you are in a hurry to finish the project.
Usually, a coat of stain takes 24-48 hours to completely dry and cure. You may be planning to add a couple of coats of stain, so keep in mind that you must allow each separate coat to dry completely and thoroughly saturate the wood before you apply another coat.
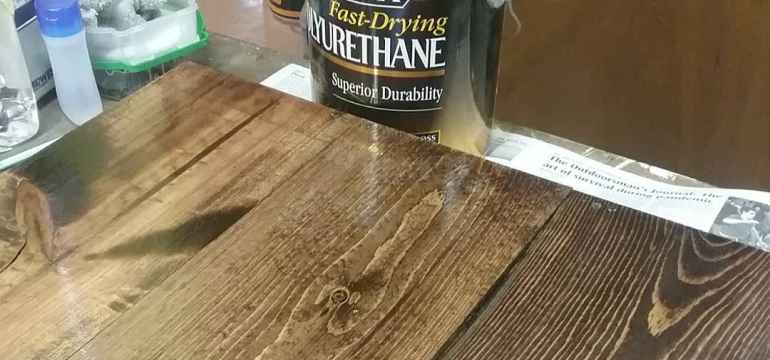
As we mentioned previously, it is also very important to wipe off any excess right after you apply the stain. So if you’re wondering how long should stain dry before polyurethane coating can be applied, you are probably looking at a good solid day or two. Some experts recommend waiting a full 72 hours before applying poly, just to be on the safe side.
How Long Does It Take for Minwax Stain to Dry?
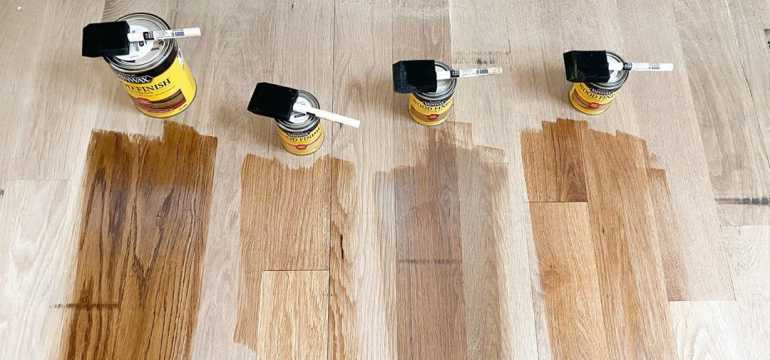
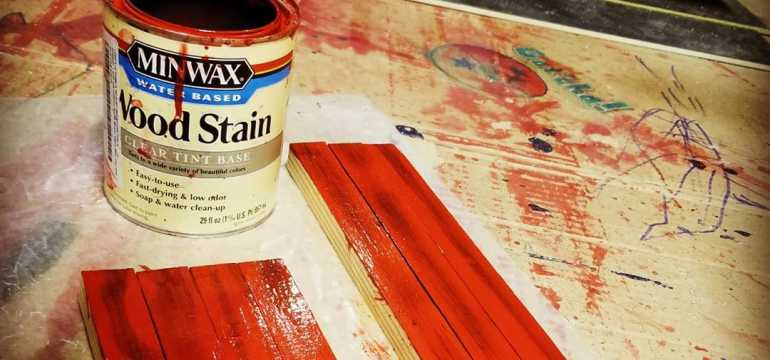 So far, we have primarily been discussing drying times in reference to oil-based wood stains. For some types of stain, there’s a much faster drying time involved. For example, Minwax Wood Finish Penetrating Stain claims to be able to dry in two hours, thanks to a “new innovative formula,” although most users recommend 4-6 or longer, to make sure the coat is really dry.
Other Minwax products include drying times of 4-6 hours on the label of the can, while others recommend 8-10 hours or even longer.
Other Factors Involved in Drying Time of Stain
 When you are considering how long to let the stain dry between coats, it is important to remember that other factors can affect how long it takes for the stain to dry. Suppose you have waited the recommended time that the manufacturer recommended on the label, but your stain still refuses to dry. It is still sticky or tacky to the touch. What could be wrong?
In this case, you probably need to consider the environment you are working in. It may be that the humidity levels in the space are just too high for the stain to dry properly within the recommended time frame. Maybe the temperature is too high, or there’s too much water in the air. Those factors can certainly slow down the drying process for wood stain.
Consider moving your project to a different area, where there is better airflow, less humidity, and a lower temperature. If you have the project in a climate-controlled room, think about adjusting the thermostat, introducing a dehumidifier or a fan, or taking other steps to improve the speed of the drying process.
If you do not have a choice about the environment in which you are working on the project, you may simply have to wait a lot longer for each subsequent coat of stain to dry thoroughly. Just give the piece an extra day or so and see if that accomplishes the thorough drying that you need in order to be able to proceed with the project.
Oil-Based Stain Drying Time: Gel Finishes and Wipe-On Liquid Stains
The thinner a stain is, the faster it should be able to penetrate the wood and dry completely. The thicker or more viscous the stain, the longer the drying process will be. Wipe-on liquid oil-based stains are typically quicker to dry and may be better for large-scale projects with a lot of surface area. These liquid stains are easy and quick to apply. They typically go deeper into the wood and therefore show more of the grain variation. However, keep in mind that the stronger the grain shows through, the more clearly imperfections and knots will show as well.
Gel-type oil-based stains don’t penetrate as deeply into the wood. They tend to be a bit thicker and will, therefore, take longer to dry thoroughly. Keep in mind that gel stains take longer to apply properly, and you will need to take extra care to eliminate any excess from the surface.
Varathane Stain Drying Time
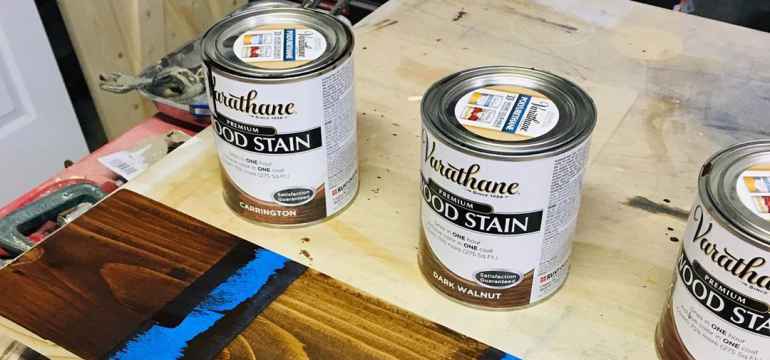 Like Minwax, Varathane is another popular stain choice. Varathane sells several different types of stain, all with various recommended drying times, but their fastest-drying product is the Varathane Fast Dry Wood Stain, which claims to color in one coat and enables users to finish a project three times faster.
Varathane boasts that this product can dry in one hour, no wood conditioner required. For the best results, you will need to ensure a cool, low-humidity environment. Once you are positive the stain has dried thoroughly, add a top coat of polyurethane to ensure complete coverage and protection.
Other Varathane products have a more traditional drying time, with stains that dry anywhere from two hours to twelve hours. If you are going for the slow, hand-rubbed, beautifully crafted look, you will probably want to choose a more classic traditional stain with an oil base. The stain will take long to apply, but that extra time will yield a level of class, polish, and durability to the project that you just can’t get with a quick-drying stain.
Can I Put Polyurethane Over Tacky Stain?
 Here’s another common question. Can you apply polyurethane even if the layer of stain underneath is still kind of tacky? The answer is no. You should never do this, no matter how much of a hurry you’re in. You should always take the time to wipe off the excess stain from your first coat to ensure correct drying, and you should always wait for the recommended amount of time or longer for the first coat of poly to dry.
If you give up on waiting, skip the end of the drying process, and apply more stain while the first coat is still tacky, you are going to run into serious issues. Wood stain is designed to penetrate the wood, and if that is not accomplished, the stain is left sitting atop the surface of the wood. In that state, if you add a layer of poly on top of it, the lower layer will never penetrate the wood or dry properly.
Or worse, the polyurethane will mix with the stain, which will permanently damage its ability to bond with the wood and do its job. The mingled poly and stain will continue to stay sticky, and you will be left with a real mess on your hands. You will find that the surface stays tacky to the touch, no matter how long you wait, and you will eventually have to remove all that mangled, sticky stain, sand down the project, and start over.
What to Use to Remove a Staining Mess
 If you do end up with a problem like this, you can use a solvent such as acetone, alcohol, or mineral spirits to clean up the mess. You should also check the label and information for the type of stain you are using because the manufacturer will generally include a recommendation for the type of solvent to use if you end up needing to remove the product.
The Removal Process
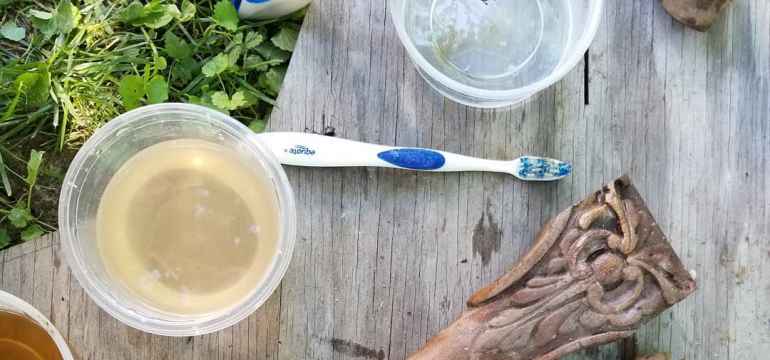
You can use a terry cloth towel and an old toothbrush dampened with the solvent to remove the stick, tacky stain residue. You need to work slowly, using light pressure, so you don’t cause further damage. It can take thirty minutes or longer to gradually remove the tacky mess of stain.
Once you have cleared away the residue and you’re seeing the wood grain, you can carefully sand the surface. Don’t sand it too hard, though. Wipe away the dust from the sanding phase and then begin again, this time applying only thin coats of stain, wiping away excess, and allowing full drying time.
Overview
In the end, the type of stain you select is primarily dependent on your ultimate goals for the project you are working on. A quick-drying stain is excellent if you’re in a hurry, and you’re trying to cover a lot of surface area or complete a lot of pieces.
If you want an heirloom piece to treasure, slow is probably the way to go. No matter which type of stain you choose, make sure it is thoroughly dry before even thinking about adding a polyurethane coat. Those extra minutes or hours of waiting will be well worth it when you have a gorgeous finished project that you can enjoy.

- How to Cut Lexan - September 25, 2020
- Mineral Spirits vs. Mineral Oil - September 25, 2020
- Shellac vs. Polyurethane - September 24, 2020