When the grout begins to crack on your shower walls, not only does it look bad, bacteria can also begin to accumulate in the cracks making it hard to clean. Although this may seem like an expensive repair, it’s a really easy job that you can do yourself. By eliminating the need to hire a professional, you’ll keep more cash in your wallet.
What causes grout to crack?
Grout usually starts cracking primarily in the joints and is caused by the movement amongst two surfaces. As the foundation of a home settles, the house will slightly move from time to time. Other factors that can make a home move include the humidity, extreme temperatures, heavy winds, and harsh storms.
Besides movement, poor installation can also be a problem. If your grout is not installed properly, you’ll more than likely face problems like cracking in the future. For instance, air pockets can form in the grout if there was to much water used in the mixture. These air pockets can make the grout brittle and more susceptible to cracking.
This is why it’s a good idea to hire a professional to do all your grout installation work unless you really know what you’re doing. Getting the original mixture right or making sure you bought the right product is a big step in the process. Small repairs can be easily completed, but the original work should be done by someone who has a lot of experience in this line of work.
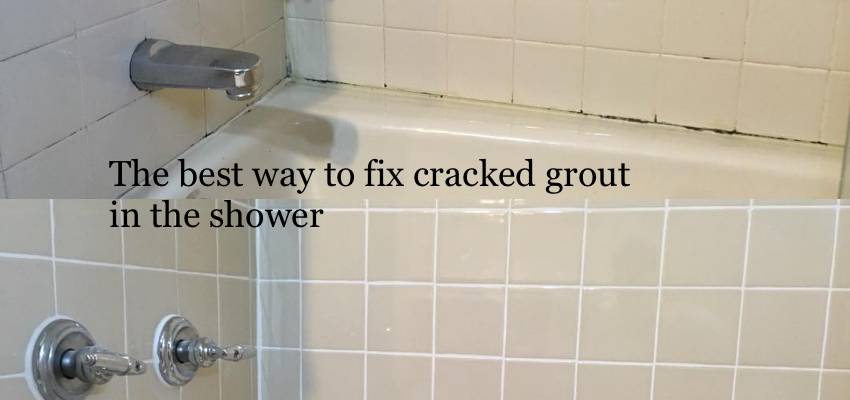
The best way to fix cracked grout in the shower
If the grout keeps cracking in your shower, you’re going to want to fix it right away. This job can be done in just a few hours and will typically cost anywhere from $20 to $100 to complete. However, make sure that when you’re fixing your shower walls, you always wear eye protection.
Before you start, you’ll want to decide whether you’re going to regrout just the cracks or the whole stall. Regrouting the whole stall is a job that takes time. If the grout in your shower wall only has a few cracks, there’s no sense in fixing the whole stall unless it really needs it. Whatever you decide, you’ll want to make sure you start by removing all the loose material and then filling in the spaces with a high-quality grout like Laticrete Permacolor for example. This is one of the best products on the market. So, to successfully fix the grout on your shower wall, follow these easy tips below.
- Equip yourself with a grout saw. You’ll want to use a ¼ bit. You can also use a grout removal tool as well, whatever your preference. Most home improvement stores also sell a wide variety of grout removal kits too.
- Start to grind or work the old grout and the caulking away from between the tiles. Make sure you take your time, so you don’t accidentally chip or damage the tile when you working away the old grout.
- Once you have removed all the loose grout and the overlaying caulking, it’s time to replace it. What you want to do is first apply your Laticrete Permacolor mixture or the product you chose. You’ll need a putty knife to do this.
- After you have applied your grout filler, equip yourself with a grout float and move it diagonally across the tile. This will help you get a flat, level surface.
- Once the grout is fully dry, which usually take about 20 minutes after it was applied, then apply caulking over the top of it. The caulking will keep moisture from seeping through and causing damage and the growth of bacteria.
- The corners of your shower wall have a tendency to crack overtime. If they are cracked, professionals recommend using a high-quality silicone over the top of your grout, just like you would on your shower wall.
- Lastly, take a damp sponge and wipe off the tile. You’ll also want to rinse the sponge as many times necessary to get the tile clean.
Protect the grout by sealing the tile in your shower
After you have finished fixing the grout cracks in your shower, it’s a good idea to seal the grout. Why? Grout is a porous material that allows a certain percentage of water penetrate it. This can lead to mold and other bacteria issues. In addition to this, when grout goes from being wet to dry on a regular basis, it can become brittle and eventually crack. So, how do you seal the grout?
- Purchase a can of grout cleaner from your local home improvement store.
- Make sure you have cleaned the tile and the grout you are about to seal. You’ll also want to make sure your shower wall is also dry.
- Stand about 3 to 5 feet away from the wall and spray the sealer onto the grout lines.
- Let the sealer dry for about 30 minutes and then reapply it.
This is a great way to keep your grout in good condition. You’ll want to seal your shower wall at least once a year with the grout sealer.

- Painting Over Powder Coat and What You Need to Know - February 1, 2022
- How to Get Rid of Humidity in a Basement Without a Dehumidifier - December 17, 2021
- How to Fix a Crack in Drywall That Keeps Coming Back - September 22, 2021